We’ve all been there—standing around the grill at a family reunion or neighborhood cookout, politely choking down a dry, hockey puck-like burger while nodding and mumbling compliments to the proud but misguided grill master. The humble hamburger may seem like the simplest thing to grill, but this apparent simplicity is precisely why so many home cooks get it wrong. A truly great burger requires understanding a few fundamental principles that transform ordinary ground beef into a juicy, flavorful masterpiece.
The good news? Perfecting your burger game doesn’t require fancy equipment or professional training. With just five essential techniques and a willingness to challenge some common misconceptions, you can consistently produce backyard burgers that rival your favorite restaurant’s offerings. Let’s break down these game-changing principles that separate mediocre burgers from memorable ones.
Start with the Right Meat
The foundation of any great burger is the meat itself, and this is where many well-intentioned grillers make their first critical mistake. The lean ground beef that might work well in other recipes is the enemy of a juicy burger. The truth is unavoidable: you need fat—specifically, at least 20% fat content—to produce a burger with the juiciness and flavor you’re craving.
Ground chuck is your ideal starting point, typically offering that perfect 80/20 lean-to-fat ratio. While some recipes suggest mixing in ground sirloin for enhanced flavor, the improvement is generally minimal compared to the extra effort and expense. For feeding four hungry people, 1½ pounds of good-quality ground chuck will yield substantial burgers that satisfy without overwhelming.
Remember, much of that fat will render out during cooking, but its presence during the process is what keeps your burger from drying out while adding that distinctive richness that makes a burger truly crave-worthy. If dietary concerns make you hesitant about fat content, consider this: a truly satisfying, properly sized burger might be better for your overall relationship with food than a larger portion of something less satisfying.
Handle with Care: The Gentle Approach
Once you’ve selected the right meat, how you handle it becomes the next critical factor. The difference between a tender, perfectly textured burger and a dense, tough disappointment often comes down to one simple principle: minimal handling. Every time you squeeze, press, or overwork ground beef, you’re compacting it and destroying the loose texture that makes a great burger.
This means resisting the common urge to mix seasonings directly into the meat. Instead, divide your meat into four equal portions (about 6 ounces each for 1½ pounds), and gently form each into a ball before shaping into ¾-inch thick patties with light, quick motions. Avoid pressing down or compacting the meat as you shape it.
A professional trick worth adopting: press your thumb gently into the center of each patty to create a small indentation or dimple. This simple step prevents the burger from puffing up in the center during cooking, ensuring an even thickness throughout. For easy handling later, consider stacking your formed patties between small squares of wax paper and refrigerating until you’re ready to grill.
The Timing of Seasoning Matters
Contrary to popular practice, the best time to season your burgers is not when you’re forming the patties, but immediately before they hit the grill. Salt draws moisture to the surface of the meat, and if applied too early, it can pull juices out of your burger, leaving you with a drier result.
When your grill is hot and you’re ready to cook, that’s when you should remove your patties from the refrigerator and season them generously with kosher salt and freshly ground black pepper. Keep it simple—a well-formed burger from quality meat doesn’t need complicated seasoning blends to shine. What it does need is enough salt to enhance its natural flavors, so don’t be shy with your seasoning.
Apply your salt and pepper liberally to both sides of each patty just before placing them on the grill. This timing allows the seasoning to form a flavorful crust without drawing out essential moisture before cooking begins.
High Heat and Hands-Off Cooking
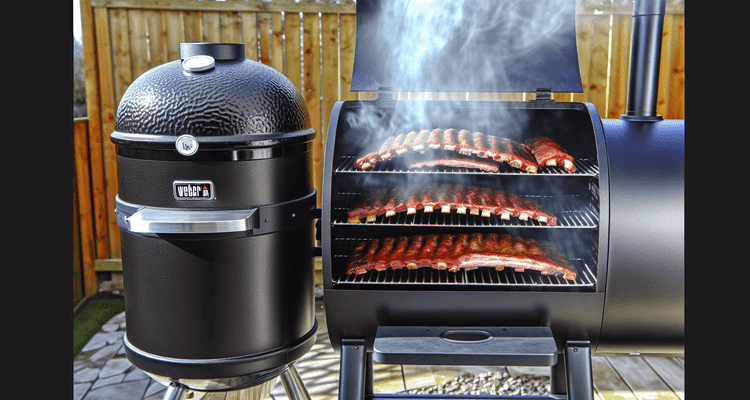
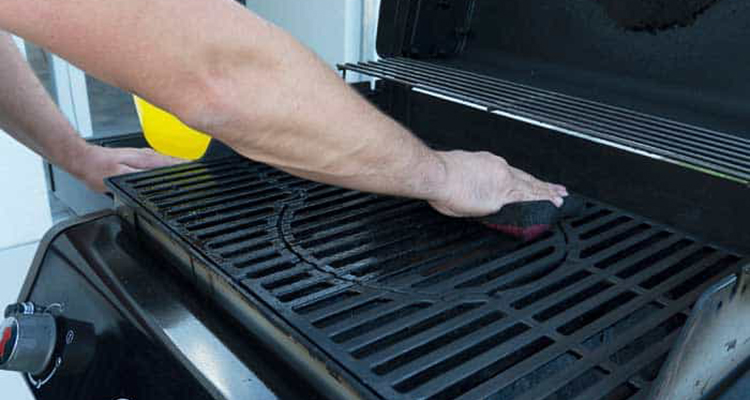
Temperature control and cooking technique make the critical difference between a properly seared, juicy burger and a disappointing result. Start by preheating your grill on high for at least 15 minutes, allowing it to reach the intense heat needed for proper searing. Clean the grates thoroughly and oil them to prevent sticking—a critical step that many grillers overlook.
When placing your burgers on the grill, resist the urge to move them around or—worst of all—press down on them with a spatula. That satisfying sizzle you hear when pressing down is the sound of flavorful juices being lost to the flames below, a sure path to a dry burger. Instead, place your patties on the hot grill and leave them undisturbed for about 6 minutes before attempting to flip.
How do you know when it’s time to flip? Try to lift the edge of a burger gently with your spatula. If it resists and sticks to the grate, it’s not ready yet. A properly seared burger will release naturally from the grill when it’s formed a sufficient crust. When that happens, flip once and cook for approximately another 6 minutes for medium doneness (160°F internal temperature).
The Essential Final Step: Resting
Even perfect execution of the previous steps can be undermined if you skip the final crucial technique: resting your burgers after cooking. Just like with steaks and other meats, allowing burgers to rest for a few minutes after coming off the grill gives the juices time to redistribute throughout the meat instead of flowing out when you take your first bite.
Transfer your just-cooked burgers to a clean plate and resist the urge to serve immediately. A rest of even 3-5 minutes makes a noticeable difference in juiciness. Use this time to toast your buns lightly on the grill and prepare your toppings and condiments. The brief wait will be rewarded with a significantly more enjoyable burger experience.
While the patty is the star, don’t neglect the supporting elements. Fresh, quality toppings and a lightly toasted bun that can stand up to the juices without falling apart complete the perfect burger experience. But with these five essential techniques mastered, even the simplest presentation will showcase your newfound burger-grilling expertise.
Frequently Asked Questions
Should I make smash burgers instead of thick patties?
Smash burgers and thicker pub-style burgers are simply different styles, each with their own appeal. Smash burgers maximize surface area for more crust and can be delicious, but the techniques in this guide focus on juicy, medium-thickness patties that provide the ideal balance of exterior crust and juicy interior.
Can I grill frozen burger patties successfully?
While fresh is preferable, frozen patties can yield good results if you adjust your technique. Let them thaw slightly (about 15-20 minutes at room temperature), season well just before grilling, and expect longer cooking times. The results won’t quite match fresh patties, but can still be satisfying.
What’s the best way to tell when my burgers are done?
For food safety, ground beef should reach an internal temperature of 160°F for medium doneness. An instant-read thermometer is the most reliable method. Insert it into the side of the patty for the most accurate reading without losing juices from the top.
Are charcoal grills better than gas for burgers?
Charcoal can impart additional smoky flavor, but proper technique matters more than fuel type. With either grill, the keys are adequate preheating, proper temperature control, and following the handling principles outlined above.
What’s the best bun for a perfect burger?
The ideal bun should be substantial enough to hold up to the juices without falling apart, but not so dense that it overwhelms the burger. Brioche, potato buns, or sesame seed buns are excellent choices. Whatever you choose, lightly toasting the cut sides on the grill adds flavor and helps prevent sogginess.